


In today’s digital age, the product photography is more critical than ever. In fact, studies show online shoppers discover products shared on social media, and many of them are photos of the products.
Furthermore, high-quality images of products can attract potential customers, increase conversions, and elevate the overall brand image.
However, capturing great product photos is easier said than done. It requires a combination of skills, knowledge, and practice. With businesses competing in a crowded marketplace, it’s essential to showcase products to stand out from competitors.
Capturing Product Photos That Sell
Product photography is all about showcasing the product in the best way to entice customers. Here’s how you can do it best.
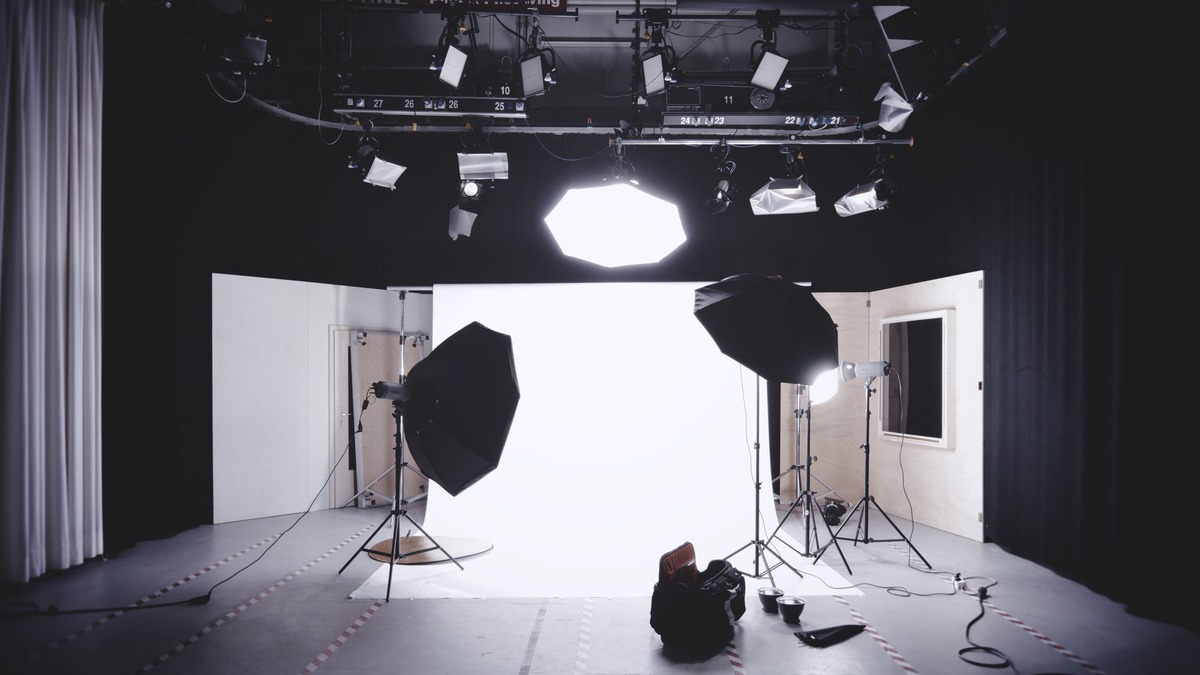
Prepare Your Gear
Before shooting product photos, you must ensure you have the right gear. A high-quality camera, a sturdy tripod, and various lenses are crucial for capturing the best product photos. You don’t necessarily need the latest or most expensive camera, but it should be capable of producing high-resolution images.
A tripod is necessary to keep the camera steady and eliminate any camera shake that could lead to blurry photos.
On the other hand, lenses are essential for capturing different angles, depths, and perspectives of the product. Choosing the right lens for product photography can significantly impact the quality of your images.
The lens’s focal length determines the angle of view and magnification of the image. A focal length of 50-100mm is a good starting point for most product photography.
The aperture determines the depth of field or how much of the image is in focus. A wide aperture (low f-stop number) creates a shallow depth of field, which can be useful for isolating the product and creating a blurred background. The sharpness of the lens determines how crisp and clear the image appears.
Generally, prime lenses are sharper than zoom lenses. Select a lens that produces sharp pictures, as customers are more likely to purchase if they can see the product.
Know Your Lighting
Lighting is one of the most critical aspects of product photography. The right lighting can enhance the product’s features, colour, and texture, making it more appealing to potential customers. When shooting indoors, natural light is the best option. Find a well-lit room with plenty of windows and position your product near the window.
If natural light is not available or adequate, consider investing in artificial lightings, such as softboxes or light tents. These lighting tools can help diffuse light and eliminate harsh shadows, giving your product a more professional look.
Set Up Your Background
A cluttered or distracting background can take away from the product’s visual appeal, making it harder for customers to focus on the product itself.
When choosing a background, choose a clean and neutral-coloured backdrop, such as white or gray seamless paper. You can also use textured materials like wood or fabric to add depth and interest to the photo. Ensure that the background complements the product and doesn’t detract from it.
Understand the Composition Rules
Composition is the arrangement of elements in a photo. It involves choosing the right angles, framing, and positioning of the product. Following composition rules like the rule of thirds can help create a balanced and visually appealing photo.
The rule of thirds involves dividing the photo into a grid of nine equal parts and placing the product along the intersecting lines or points. This rule creates a sense of balance and harmony, making the photo more visually appealing.
Use Editing Tools
Editing is the final step in creating stunning product photos. Editing tools can enhance the image’s colour, contrast, and sharpness, making it more visually appealing. However, it’s essential to use editing tools in moderation and not overdo it.
Over-editing can make the photo look unrealistic and unappealing. Simple adjustments like cropping, adjusting the brightness and contrast, and removing unwanted blemishes can help create a clean and polished final product. If you cannot set up your background well, a background remover to make the products pop out.
Key Takeaways
Capturing great product photos is a combination of skills, knowledge, and practice. Following these tips can showcase your products and turn casual visitors into buyers.
- Prepare your gear, including a high-quality camera, tripod, and lenses.
- Know your lighting, using natural light or artificial lighting tools such as softboxes or light tents
- Set up a clean and neutral background that complements the product
- Understand composition rules such as the rule of thirds
- Use editing tools in moderation to enhance the image’s color, contrast, and sharpness
Keep up to date with our stories on LinkedIn, Twitter, Facebook and Instagram.
